This post will explain my aftermarket suspension setup. It will also showcase how to clean your suspension setup or ‘overhaul’ the components, a process that should be done at least once a year. Not everyone gets the luxury of rebuilding but these coilovers are so cheap, you can afford to buy another set and rotate the setups.
Rear Setup: Cusco S13 Camber Plate, Eibach Main & tender Springs, Thrust Bearing, revalved to match spring specification.
To start off, the first issue that I would like to mention is that the Nissan Altima does not have many aftermarket suspension options. The immediate aftermarket shock providers are D2 Suspension, and K sport suspension. Both of these companies manufacture in Taiwan and neither of them have a North American rebuild policy. For them, it’s just much easier to sell you a brand new valve body, rather than rebuild your existing shock. BC, Megan, HSD. Most of these are from Taiwan.
One of the many complaints about these Taiwanese suspensions is their failure rate. It’s a hit or a miss. If you buy one of these units, their quality control is not as good as comparable Japanese manufacturers. The D2 and Ksport coilovers have been known to leak, and or, not provide adequate suspension characteristics.
I can only speak on behalf of my own experience and what I’ve heard. Taiwanese coilover springs do not have a consistent spring rate as a result of poor quality control. When you buy springs from reputable companies in the industry such as Eibach for example, you know that a 500lb spring is 500lb. There have been instances where the spring weight on each corner of a Taiwanese coilover kit has varied. This makes for poor handling and poor suspension dynamics. In this situation, people attempt to counter the odd acting suspension by utilizing their dampers.
One of the issue with Taiwanese Dampers is that they are not setup for different spring rates. People order custom spring rates assuming that the valving, rebound and compression will be adjusted accordingly to match. This is not a correct assumption. These companies put the same valve body on whichever spring weight setup regardless, as they trust that the customer will utilize the damper adjustment to make their own corrections.
The result is a customer who suffers from uneven rebound issues and inadequate dampening.
I am an advocate for rebuilding these coilovers with local talent. Professional suspension guru’s and rebuilders will provide you with what you need, because the reality is that the hardware isn’t the issue, it’s the way they are built that’s the problem. Any shop that works on Ohlins or Koni’s should be able to disassemble and reassemble these shocks. I would never buy a brand new Taiwanese replacement unit, knowing that you’ll get the same mismanaged piece as you did before.
Now for the overhaul.
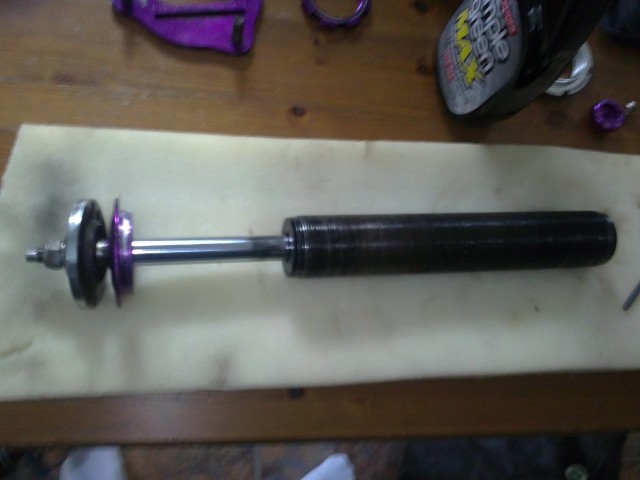
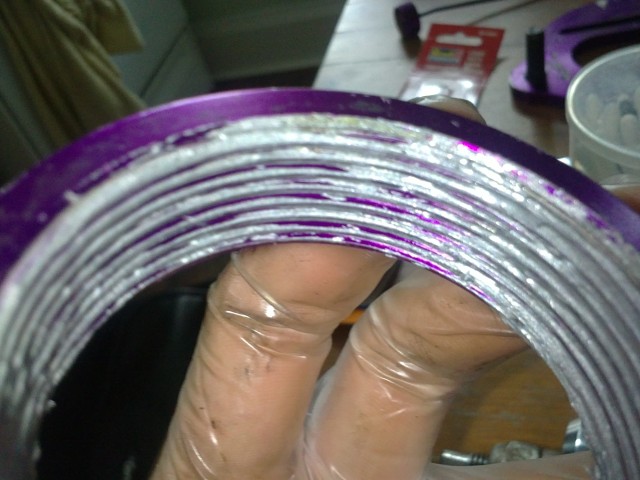
Disassemble your shock. Remove the camber plate, springs, lower perch, everything. Notice the bare aluminum on the valve body threads. The threads must be cleaned so that all debris is removed. Debris in the thread will eat up the threads when shock components are threaded on. I cleaned the units with a microfiber cloth, and WD-40/Simple Green De-greaser. Brake cleaner and other cleaning agents will also work well.
This is the nitrogen valve at the bottom of the shock. The valve cap covers the gas canister ‘nipple’ hehehe, and is charged. Pay special note to the seal, or, o-ring *not pictured* which is placed on top of the valve. Poor quality control lead to the failure of one of my shocks, because an installer placed 2-seals on the valve, one on top of another. The seals pushed down on the ‘nipple’ hehehe, and prematurely released the nitrogen charge.
The shock has an internalized cleaner that stops debris from falling into the valve body. You can see this from the streaks on the shock strut. Make sure this area is clean. My suspension guy recommends that the shock boot be removed. The shock boot tends to trap debris just as much as it keeps material out. Trapped debris will scratch the shock strut, possibly leading to a leak.
This is an image of the debris that fell off the shock while I was cleaning it. All of these debris and particles can accumulate and cause major headaches. You don’t want this material getting inside your shock.
Make sure the pillow ball joint on your camber plate is articulating properly. If it binds, you will need to replace it. I sprayed a 2 coats of telfon lubricant while the unit was disassembled. When the teflon dried, I sprayed down an additional coat of Lithium grease.
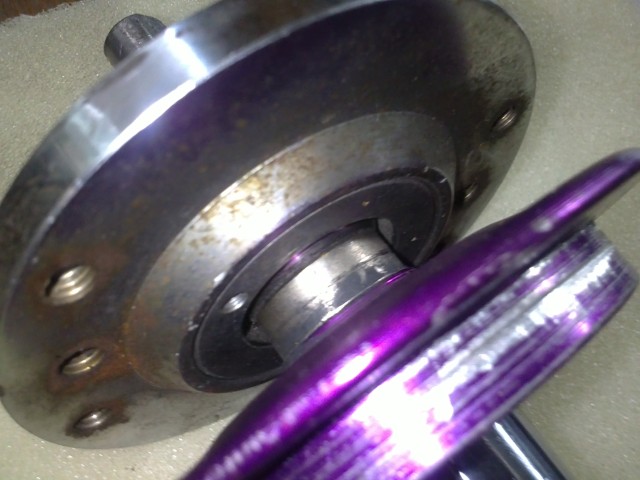
This is a Torrington, or Thrust Bearing. A lot of people are not aware that their springs rotate under compression and rebound. Some people try to combat the rotation by tightening down their spring mounts as much as possible. It does not make sense to combat the natural function of the spring. Thrust bearings allow the spring to rotate as designed. Thrust bearings can only be used when the spring is secured *no slack*.
This is my Eibach Tender spring. MADE IN GERMANY. Top notch quality. Thumbs up! The tender spring takes some of the smaller bumps and minor suspension movements on the car without having to activate the main spring. Having a main and tender spring system can be described as having a variable suspension spring, such that the coilover has 2 sprung characteristics. The added physical function of a tender spring is that it removes the slack I mentioned from the coilover system. This allows me to run the Thrust bearing to allow the springs to rotate.
This is the sleeve that connects the Main and Tender spring. It does not take any weight or load. The main function is to align the two springs together and to make sure they are connected at all times.
Make sure you use plenty of anti-seize after you are done cleaning the suspension during reassembly.
Re-assemble, and install.
More Technical Notes:
These units are relatively inexpensive compared to say, Ohlins or AST’s, it’s no wonder people opt for a cheaper alternative. The shock setup that I have is a monotube configuration, where the user can only control compression and rebound valving. Because this system is so simple, the internal design is very much like a basic set of Ohlins or AST’s. I’m not going to compare KW variants because they definitely have a more complex internal structure.
The valve body utilizes 4x quad seal setup with a floating piston for oil control. The nitrogen charge is deposited from the bottom. The amount of oil in the unit must dampen and work in unison to your outside spring rate. The nitrogen charge and amount of charge will allow for rebound control, in unison with the valve piston design.
– Billy


